Spring Cloud Gateway监控
欢迎加入Spring Cloud Gateway监控豪华套餐——
只要为Spring Cloud Gateway添加Spring Boot Actuator( spring-boot-starter-actuator )的依赖,并将 gateway 端点暴露,即可获得若干监控端点,监控 & 操作Spring Cloud Gateway的方方面面。
yaml
management:
  endpoints:
    web:
      exposure:
        # 当然暴露'*' 更好啦..
        include: gateway
监控端点一览表:
TIPS 以下所有端点都挂在
/actuator/gateway/下面。 例如:routes的全路径是/actuator/gateway/routes,以此类推。
| ID | HTTP Method | Description |
|---|---|---|
globalfilters | GET | 展示所有的全局过滤器 |
routefilters | GET | 展示所有的过滤器工厂(GatewayFilter factories) |
refresh | POST【无消息体】 | 清空路由缓存 |
routes | GET | 展示路由列表 |
routes/{id} | GET | 展示指定id的路由的信息 |
routes/{id} | POST【消息体如下】 | 新增一个路由 |
routes/{id} | DELETE【无消息体】 | 删除一个路由 |
其中,要想动态添加路由配置,只需发送POST请求,消息体如下:
json
{
  "predicates": [
    {
      "name": "Path",
      "args": {
        "_genkey_0": "/test"
      }
    }
  ],
  "filters": [
    {
      "name": "AddRequestHeader",
      "args": {
        "_genkey_0": "X-Request-Foo",
        "_genkey_1": "Bar"
      }
    },
    {
      "name": "PreLog",
      "args": {
        "_genkey_0": "a",
        "_genkey_1": "b"
      }
    }
  ],
  "uri": "https://www.itmuch.com",
  "order": 0
}
TIPS
技巧:消息体其实是有规律的,你可以先在配置文件中配置一个路由规则,然后访问
${GATEWAY_URL}/actuator/gateway/routes端点,每个路由id的对应段落,就是你的消息体啦。
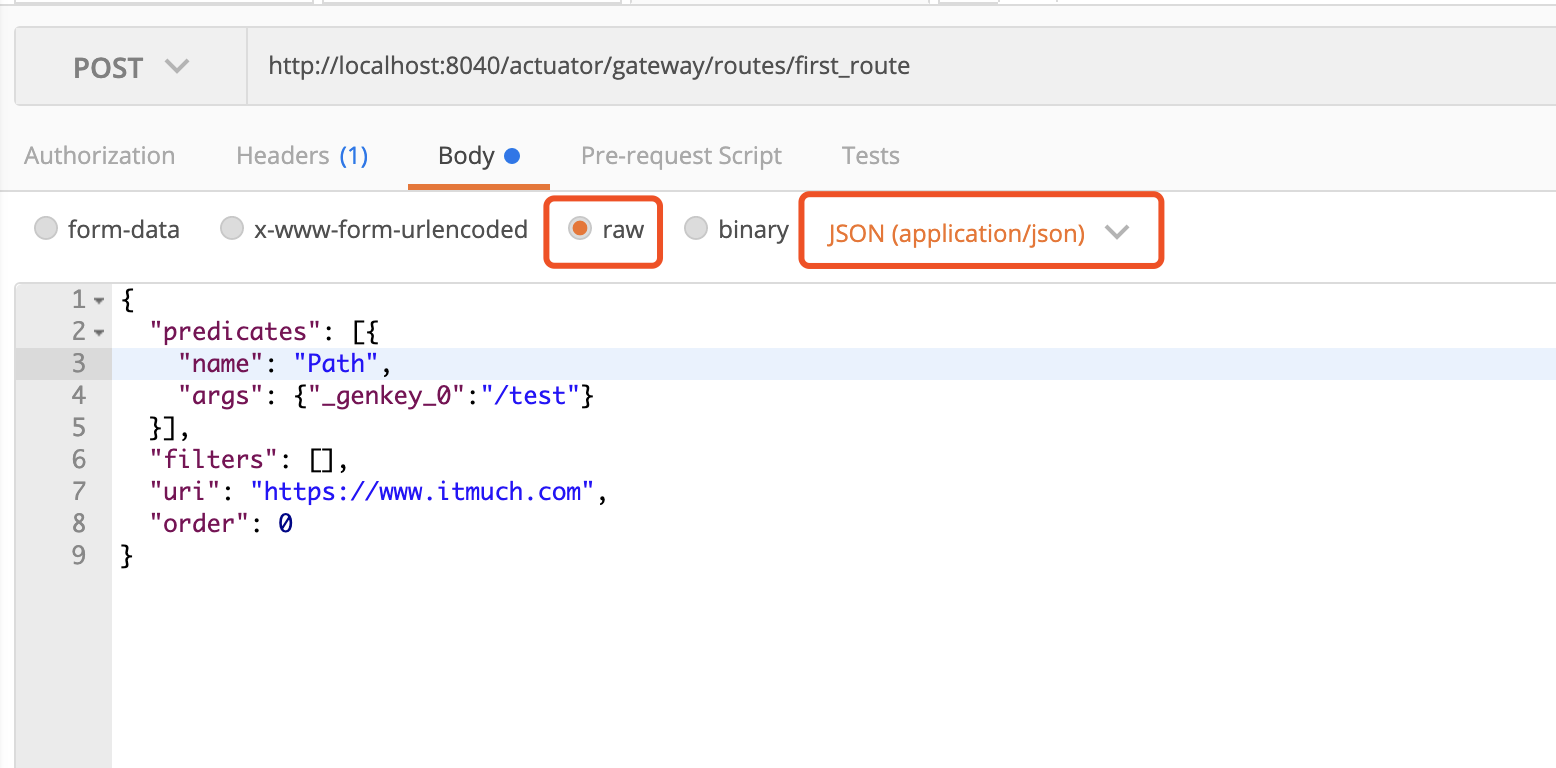
如使用 POSTMAN 测试,可配置如下:

操作完成后,可再次访问 ${GATEWAY_URL}/actuator/gateway/routes 端点,可以看到,新的路由已被动态添加了。
TIPS
如果没有实时生效,使用refresh端点刷新一下路由信息即可。